When the Build Ends, the Real Cleaning Begins
If you’ve ever walked through a newly built space — shiny floors, new paint, maybe that “fresh drywall” smell — you’d never guess what it looked like just a few days before or imagine the post construction cleaning challenges of the past.
Because post construction cleaning challenges are a different beast altogether.
We’re not talking about a bit of dust or clutter. We’re talking layers of fine particles that stick to every surface, dried paint that refuses to move, and adhesives that seem fused to the floor.
These are the real behind-the-scenes battles of construction cleaning pros.
👉“Learn what’s included in a professional post construction cleaning service.”
In this post, I’ll share the three toughest messes we face on a construction site — and the tricks that actually work. You’ll also learn why technology is transforming the game, plus practical ways to keep your site cleanup safe, fast, and efficient.
1. The Dust That Never Ends
Every cleaning pro knows this one: you sweep, vacuum, wipe — and a few hours later, dust is back, laughing at you.
This is the #1 post construction cleaning challenge for a reason.
Where the Dust Comes From
During construction, you’ve got drywall sanding, cement cutting, tile sawing, and woodwork — all of which create micro-dust. These particles are lighter than air and can float for days.
They sneak into vents, light fixtures, sockets, even the tiniest crevices in window frames.
Why Regular Cleaning Tools Don’t Work
A basic broom or domestic vacuum just moves the dust around. In fact, regular vacuums can blow fine particles back into the air, making the situation worse — and risking respiratory issues for workers and future occupants.
(According to OSHA, prolonged exposure to construction dust, especially silica, can lead to serious health problems like silicosis.)
The Pro’s Fix
Here’s how professional cleaners tackle it:
- HEPA-filter vacuums: These trap 99.97% of particles as small as 0.3 microns. No recirculating dust.
- Air scrubbers and negative air machines: These continuously filter the air in enclosed spaces.
- Microfiber over cotton cloths: Microfiber grabs fine particles and holds onto them instead of pushing them around.
- Sequential cleaning: Always start high (vents, ceilings) and finish low (floors).
A single pass isn’t enough — most pros plan for three dusting rounds over two to three days.
💬 Pro tip: If you’re cleaning near freshly painted walls or ceilings, always wait 48 hours for the paint to cure before using a vacuum or duster. It prevents smudging and keeps dust from embedding into wet paint.

2. Adhesives, Paint, and Mystery Gunk
If dust is annoying, adhesive residue is infuriating.
From window stickers and protective films to grout haze and hardened caulk — these are the kinds of messes that test a cleaner’s patience.
The Source of the Problem
Every construction phase leaves behind some kind of residue:
- Glues and sealants from flooring or cabinetry
- Protective plastic films on glass or stainless steel
- Overspray from paint or sealers
- Grout haze from tiling work
These materials are designed to stick forever. Removing them without damaging the surface underneath is where true skill comes in.
Common Mistakes
A lot of new cleaners make one of these mistakes:
- Scraping too hard with metal tools (scratches glass and steel)
- Using harsh solvents that stain or dull surfaces
- Applying too much heat and warping materials
How the Pros Handle It
Here’s the process most pros follow:
- Identify the residue — is it paint, silicone, or adhesive?
- Test a solvent in a hidden area first (citrus-based cleaners work wonders for adhesives).
- Use plastic scrapers for safety. Metal is a last resort.
- Steam or heat guns can soften thick glue layers.
- Wipe with microfiber soaked in a pH-neutral cleaner to finish.
For tougher coatings, pros use specialty products like Goof Off or 3M Adhesive Remover — but carefully, since they can discolor finishes.
💡 Pro tip: Mix a bit of warm vinegar and dish soap for safe adhesive removal on glass. It’s gentle and surprisingly effective.
For professionals working with high-end materials like marble or aluminum, check out 3M’s cleaning guide for surfaces — it’s gold.

3. Cement, Grout, and Construction Waste: Big Cause of Post Construction Cleaning Challenges
This is the heavy-duty side of cleaning — where tools, pressure, and chemistry meet patience.
The Challenge
Cement dust, dried grout, or leftover mortar can bond to surfaces so tightly that it feels like they’ve become part of the structure.
Even small splatters can ruin the look of floors or tiles if left too long. And construction debris — like wood chips, nails, and concrete bits — can easily damage cleaning equipment.
Pro-Approved Solutions
- Soften before scrubbing: Dried grout and concrete can be loosened with specialized removers or diluted acid cleaners. Always test first and use full protective gear.
- Pressure washing for exteriors: Low-pressure settings only, or you risk damaging new surfaces.
- Vacuum first, sweep later: It sounds backward, but vacuuming prevents debris from scratching floors.
- Dispose safely: Follow local building waste guidelines (see EPA construction debris disposal standards).
⚠️ Safety note: Never mix cleaning chemicals on-site. Ammonia + bleach, for example, can release toxic gas.
When it comes to concrete splatter on glass, a razor scraper used at a 45° angle is the only safe mechanical method — but you need a steady hand and new blades only.

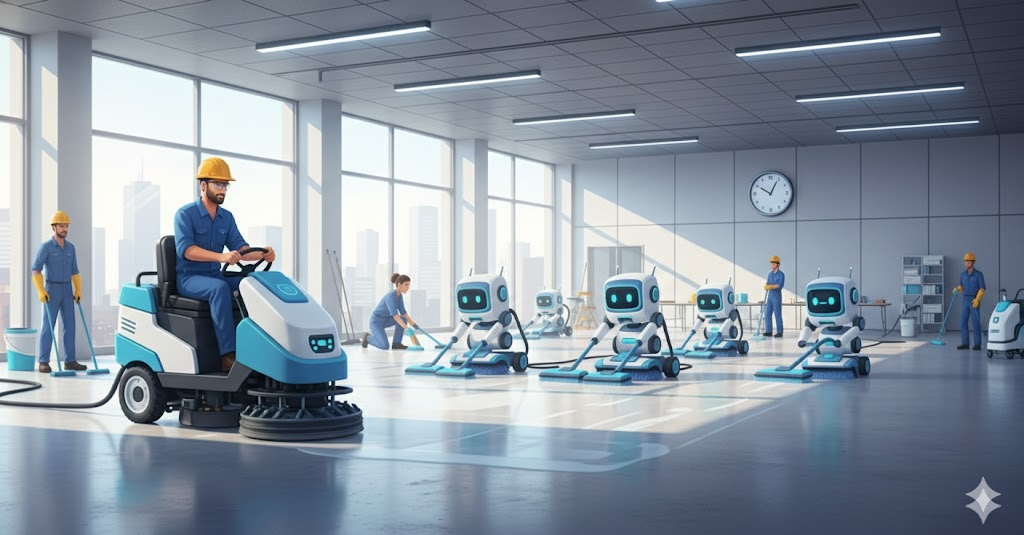
The Role of Technology in Post Construction Cleaning
Tech has quietly become one of the biggest weapons against post construction cleaning challenges.
Here’s what’s changing the game:
- Robotic vacuums with HEPA systems — ideal for large commercial projects.
- Moisture-detection tools — detect hidden damp spots that cause mold later.
- UV sanitation lamps — quick and chemical-free disinfection for bathrooms and kitchens.
- Smart scheduling software — helps cleaning teams coordinate multi-phase cleanups efficiently.
If you want a glimpse into how digital cleaning tools are shaping construction sites, check out CleanLink’s technology insights.
💪 Common Mistakes in Post Construction Cleaning (and How Pros Avoid Them)
Even experienced crews can fall into traps when working under pressure. Some of the most common mistakes include cleaning too early, using the wrong products, or overlooking hidden spots.
1. Cleaning too soon: Dust continues to settle for days after sanding or drilling. Rushing the job can mean redoing it later.
2. Using the wrong chemicals: Harsh cleaners can damage delicate finishes like stainless steel, marble, or new flooring.
3. Ignoring hidden areas: Air vents, baseboards, and behind appliances often trap dust that spreads later.
4. Forgetting about fixtures: Light fittings, switches, and door frames need detailed attention before handover.
5. Skipping final checks: A quick walkthrough with the builder ensures nothing gets missed — or re-dirtied.
Pros avoid these issues by following structured checklists and clear communication with site managers. It’s the difference between “looks clean” and “truly move-in ready.”
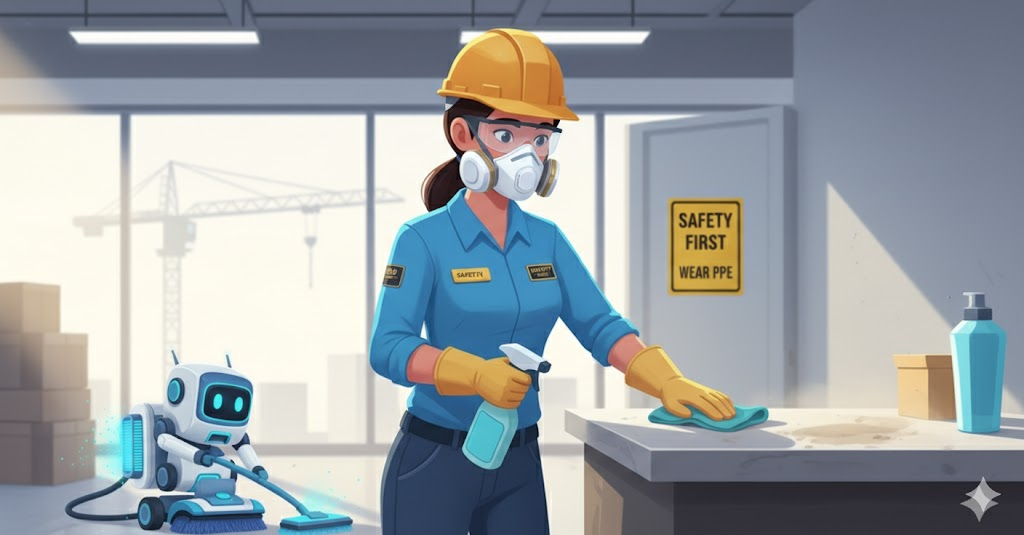
Health and Safety in Post Construction Cleaning
Even with modern tools, post construction cleaning remains one of the most demanding and high-risk stages of a build. A single oversight can lead to injuries or long-term health issues — especially with all the fine dust, leftover materials, and sharp debris scattered around.
Professional cleaners always start with the right gear. Protective gloves, respirators, goggles, and non-slip footwear are essential to guard against dust, chemicals, and accidental cuts. Silica dust, in particular, is a major concern — it’s invisible and harmful when inhaled. Using HEPA-filter vacuums and air scrubbers helps capture these microscopic particles before they spread.
Good ventilation is also key. Whenever possible, windows should be opened and portable fans or air purifiers used to circulate clean air. Even simple habits like wet-wiping instead of dry dusting can drastically reduce airborne particles.
At the end of the day, safety isn’t just about following rules — it’s about creating a clean, breathable environment for everyone who will soon occupy that space.
The Forgotten Details That Separate “Clean” from “Move-In Ready”
When a site looks clean but isn’t ready — that’s when callbacks happen.
Here are areas many cleaners forget to check:
- Inside cabinets and drawers (construction dust hides here)
- Air vents and return ducts
- Top edges of doors and window frames
- Behind appliances and under fixtures
- Light switches and outlet covers
Each of these can carry invisible dust that resettles after handover.
🧹 Pro insight: On final cleans, always recheck the site 24 hours later. Settled dust often needs one last pass — a step that makes the difference between “good” and “perfect.”
🏗️ How to Prepare a Site for a Successful Final Clean to Avoid Post Construction Cleaning Challenges
A perfect post construction clean starts long before the first mop hits the floor. Builders and project managers can make the process faster and safer by preparing the site properly.
- Clear major debris: Nails, timber scraps, and leftover materials should be removed before cleaners arrive.
- Ensure power and water access: Essential for vacuums, extractors, and hot water use.
- Schedule smartly: Cleaning should only happen once major trades are complete.
- Protect sensitive areas: Mark surfaces that should not be cleaned or that require special products.
- Provide a final plan: A short list of client priorities (like windows or grout cleaning) helps teams focus.
Good preparation can cut cleaning time in half — and prevent costly rework.
⏱️ How Long Does Post Construction Cleaning Take?
There’s no one-size-fits-all answer, but understanding timing helps set expectations.
A small apartment may take 4–6 hours for a deep clean, while a medium-sized office could require a full day or more. For large commercial projects, teams often clean in phases across several days.
The main factors affecting duration include:
- Square footage and ceiling height
- Amount of debris and dust
- Number of cleaners on site
- Type of finishes and materials
- Availability of utilities (power, water, lighting)
Modern tech tools like ride-on sweepers and industrial vacuums can reduce the total time by 30–40%. But professionals know that speed means nothing without precision — the goal is to clean once, correctly.
Mini Case Example: The High-Rise Dust War
On one Brisbane apartment project, a team spent two full days battling fine plaster dust.
No matter how much they wiped, it kept reappearing. They finally brought in dual air scrubbers, sealed every vent, and worked in teams by floor section.
Result? Cleaning time dropped by 40%, and air quality tests passed on the first inspection.
The lesson: sometimes the smartest thing you can do is pause, re-strategize, and bring in the right technology instead of more labor.
Frequently Asked Questions
What are the biggest post construction cleaning challenges?
The main ones are fine dust removal, adhesive or paint residue, and cement or grout cleanup. These require specialized tools, patience, and strict safety protocols.
What equipment do pros use for post-construction cleaning?
HEPA vacuums, microfiber cloths, air scrubbers, plastic scrapers, and low-pressure washers. These tools protect surfaces while effectively removing residues.
How long does post-construction cleaning take?
It depends on the size and scope — a single house may take 1–2 days, while large commercial sites can take up to a week with multi-phase cleaning.
How do you prevent dust from returning after cleaning?
Use air filtration equipment and keep windows or vents sealed during cleaning. Always clean top-down and finish with vacuuming floors last.
📋 Post Construction Cleaning Checklist (Short Version)
Here’s a simplified version of what most pros follow on every site:
Phase 1: Rough Clean
- Remove debris and large waste
- Vacuum construction dust
- Clean inside cabinets and closets
Phase 2: Detail Clean
- Wash windows, mirrors, and glass partitions
- Wipe down doors, handles, and baseboards
- Polish fixtures, tiles, and fittings
Phase 3: Touch-Up Clean
- Inspect high-traffic areas
- Remove smudges and fingerprints
- Final polish before handover
A good checklist keeps everyone aligned and ensures nothing is missed when deadlines are tight.

Final Thought
Post construction cleaning isn’t just about appearance — it’s about turning chaos into comfort.
Every spotless surface, every streak-free window, every dust-free vent represents hours of unseen effort.
And while no two construction sites are alike, one thing stays true: when the tools, technique, and timing align, the result feels like magic.
Still have questions about post-construction cleaning? Contact Spruces today to learn more or get a free consultation!
Read Next
The #1 Reason for Post-Construction Cleaning Delays
5 Ways Construction Cleaning Technology Is Revolutionizing Final Cleans
What Are Construction Cleaning Services?

Looking to Elevate Your Construction Project with Professional Post-Construction Cleaning Services?
Get a Free Quote Today
Click below to get a free, no-obligation quote tailored to your project’s unique needs. Let Spruces handle the cleaning while you focus on what matters most—delivering excellence.
Let’s create a cleaner, healthier, and more productive environment for your business! 🚀